How to Nail Your Next Branding Photoshoot

If you have been following me for a while, then you know that I absolutely hate being in front of the camera. My happy place is behind the screen, not on it. So it was with a fair bit of anxiety and trepidation that I booked my first professional business branding photoshoot for earlier this year.
And let me tell you – booking the shoot was the easy part, mainly because I had been following (read: stalking) the photographer I wanted for several months before hand. All the hard work came, after the shoot was booked! So now I am going to share with you my process for organising my photoshoot from beginning to end as well as the mistakes I made and lessons learned. You might also like to download a copy of my free Photoshoot Planner to help you work through the steps and prepare for your next Photoshoot.
- Determine the purpose of your shoot
Why do you want photos taken? What are they for?
For me it was simply a case of looking at my list of projects for the year. I knew I needed a few headshots and action shots for my website and social media but knowing that I also intend on launching my Strengths Coaching service, a digital course and a few retail products, I was able to get really clear on the exact types of shots I needed and therefore the type of photographer I needed.
- Find your photographer
As I said, for me this part was easy. I had seen Sophie (from Sister Scout Studio) pop up in my Instagram feed a few times as she worked with a couple of people I follow. From there I started following her and stalked her work and portfolio until I had seen enough to know that she was the photographer for me. The things that attracted me to her work was the use of natural light, her perspective (the angles from which she takes her shots, the mood they capture) and the fun shots she had of her clients – it was really obvious that they were having a good time!
- Book your location
This one can be a bit trickier. Sophie is from Melbourne and has a little black book of amazing venues with perfect backdrops and lighting. However due to luck (and potentially some divine intervention) I was lucky enough for her to kindly book in my photo shoot at the end of a girls weekend she was having in Tassie so instead of jumping on a plane I just had to throw my gear in the boot of my car and drive a few hours to Launceston.
Without the magic of Sophie’s little black book of locations I took to Air BnB to find the perfect (and affordable) venue. After a few false starts I found the ideal place with a friendly and accommodating host (thanks Hamish!). To avoid potential panic and traffic delays I decided to travel up the night before and stay at the venue, to also give us some more time and space on the day of the photo shoot I booked the following night as well, even though we wouldn’t be able to stay due to commitments back home the next day. If you tell the owners what you intend to do, some venues will happily allow you to book in for a few hours between check-out in the morning and check-in however I discovered the hard way that if by chance another punter books a few consecutive nights accommodation including the day of your photo shoot you might find yourself unceremoniously dumped without notice.
- Book a hair and makeup appointment
Whether it is for you or your models – don’t skip this step! Having a professional take care of these things for you gives you two less things to worry about on the day. #worthit
My main requirement was that I find the one person (or place) to do both. Again this is a service that Sophie collaborates with other Melbournians to deliver but out of my comfort zone and home city I posted a few requests for recommendations in Tasmanian networking Facebook groups I belong to. This got me nowhere with a few false starts and dead leads. My success came from hitting good old google and ringing around salons. I got lucky on my second attempt with a hair and makeup stylist with just enough available chair time to squeeze me in (huge thanks to Taylee from Newstead Hair). My lesson from this – arrange it early!
- Work out your outfits
Here I definitely recommend the KISS principle. The last thing you want to do is have your photographer stand around twiddling her thumbs while you go through full changes of outfits in the space of a two-hour photo shoot. Stick with a maximum of three outfits with as few changes as possible. For example my outfits were:
- Business outfit – dark denim jeans, blouse and blazer, tan shoes
- Smart casual outfit – dark denim jeans, black top, bare feet
- Casual outfit – black denim jeans, T-shirt, bare feet
My accessories were just as simple with a necklace here and there and one change of earrings.
- Decide on your props
I actually had quite a lot of fun with this one. Being a primarily desk-based business I was able to grab quite a few things from my office area and then go room-to-room around my house searching for useful items and objects that reflected my brand values and colours.

Cushions from here, a chair from there, all things that could be used either in the foreground (laptop, journal, teapot) or background (cushions, books, ornaments) to make the space reflective of both myself and my brand. This is also where you need to refer to the purpose of the shoot to ensure you are including props that are relevant to your photos (products etc).
- Create your shot list
This was also a fun bit. Being clear on what I needed the photos for, what I would be wearing and what props I would be using made this really easy. I went back through Sophie’s portfolio and Instagram feed and took screenshots of the particular shots and angles that I liked and wanted to reproduce. Then I spent a bit more time scrolling through the Instagram feeds of similar businesses to mine to get more ideas and inspirations.
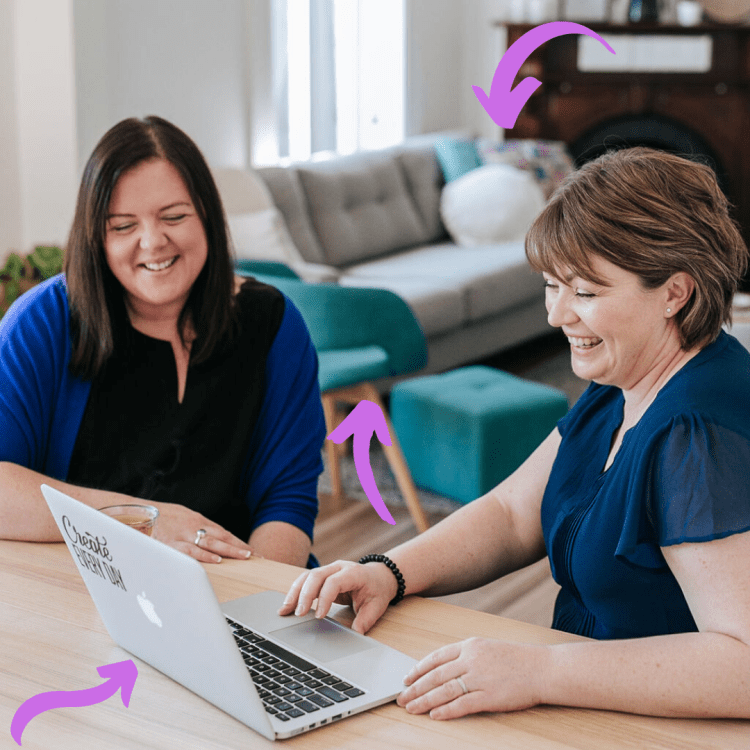
If some of your shots require other bodies (friends, family, clients, team members) then this is the time to get them organised too. Let them know when and where you need them and what you would like them to wear. Ensure to note this info on your shot list so your photographer also knows what’s going.


- Have fun!
Create an upbeat Spotify playlist, have a pep-talk with a friend beforehand, if necessary have a shot of Dutch courage and most of all enjoy your time – it will show through in your photos!

So there you have it, all the steps I went through to plan, organise and execute my photoshoot.
If I can do it – then you definitely can – grab your Photoshoot Planner and get started!


